
Blog
A Content Collections integration with RedwoodSDK to create a modern blog with protected content, user authentication, and HTML compilation for Cloudflare Workers compatibility.
View Demo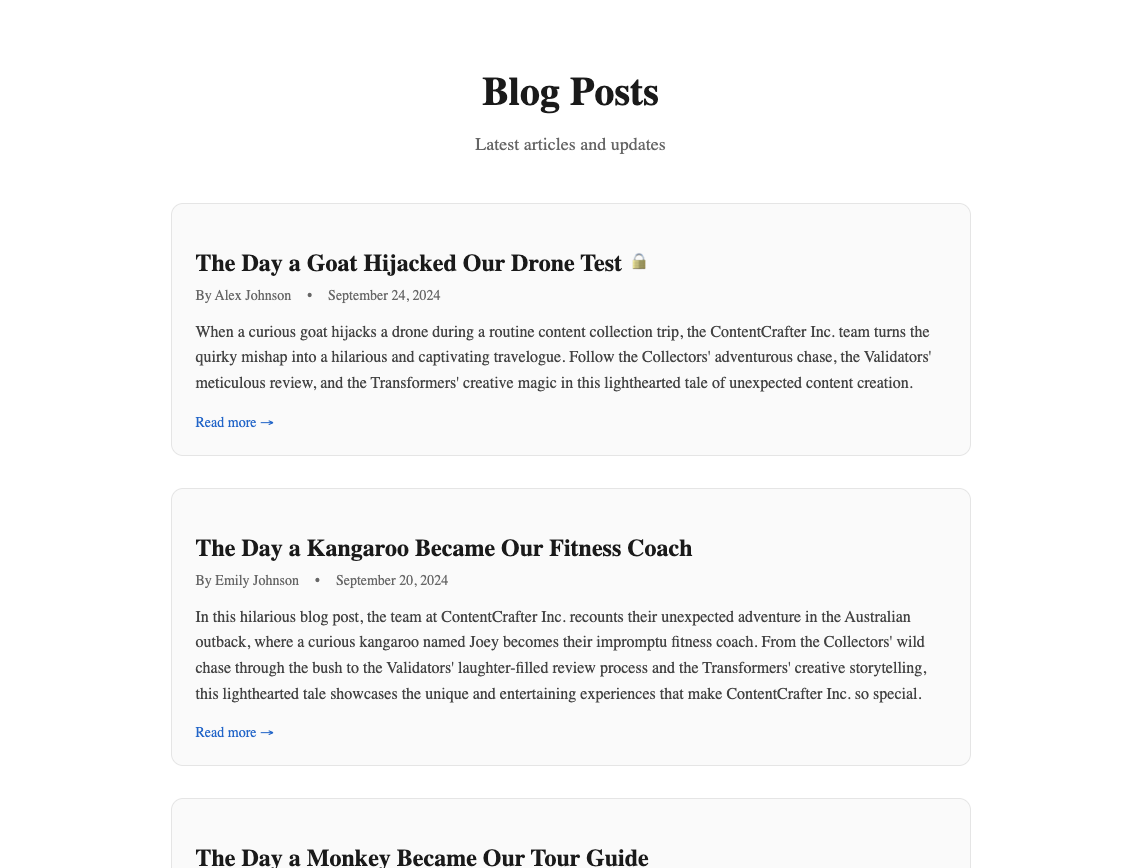
RedwoodSDK Blog Addon
This addon creates a blog for your RedwoodSDK project.
How to add to your project
These instructions assume you are starting with a RedwoodSDK project, for example from npx create-rwsdk -t minimal my-project-name.
0. Decide whether to add this manually or via AI
To use your editor's AI agent support to add this addon for you (e.g. Cursor, VSCode Copilot):
- Make sure your project dir is open in your editor. You can create a new project with:
npx create-rwsdk -t minimal my-project-name - Open a new AI chat window for your project
- Make sure you are in
Agentmode - Send the following chat prompt in the chat window - it will do the rest for you!
Please run the following and then follow the install instructions:

curl -s https://raw.githubusercontent.com/redwoodjs/blog-addon/refs/heads/main/README.md -o /tmp/blog-addon-readme.md && cat /tmp/blog-addon-readme.md

Use these instructions to install the add-on in my RedwoodSDK project.
Alternatively, to apply this addon manually, simply follow the steps below.
1. In the root of your project, create a content-collections.ts file with the following:
import { defineCollection, defineConfig } from "@content-collections/core";
import { compileMarkdown } from "@content-collections/markdown";
import { z } from "zod";

const posts = defineCollection({
  name: "posts",
  directory: "./src/blog/content/",
  include: "*.md",
  schema: z.object({
    title: z.string(),
    summary: z.string(),
    date: z.coerce.date(),
    author: z.string(),
    protected: z.boolean().optional(),
  }),
  transform: async (document, context) => {
    const html = await compileMarkdown(context, document); // HTML compilation for Workers
    return {
      ...document,
      html,
    };
  },
});

export default defineConfig({
  collections: [posts],
});
2. Update package.json
Add the following dependencies to your package.json file:
"devDependencies": {
  "@content-collections/core": "^0.9.0",
  "@content-collections/markdown": "^0.1.4",
  "@content-collections/vite": "^0.2.4",
  "zod": "^3.25.49"
}
3. Run pnpm install
4. Update vite.config.mts:
Add the following to your vite.config.mts file:
import contentCollections from "@content-collections/vite";
...
plugins: [
  ...,
  contentCollections(),
],
5. Update tsconfig.json
Add the following to your tsconfig.json file. Inside, the paths definition:
"paths": {
  // ...
  "content-collections": ["./.content-collections/generated"]
},
6. Update .gitignore
Add the following to your .gitignore file.
.content-collections
7. Download the addon files
npx degit redwoodjs/blog-addon/src _tmp_blog_addon
8. Copy files
Copy the src directory from this addon into your project's root directory. This will add the following directories:
src/blog: Content files and components for the blog
9. Update src/worker.tsx
Add the following routes:
// ...
import { render, route, prefix } from "rwsdk/router";
import {blogRoutes} from "./blog/routes"
// ...

export default defineApp([
  // ...
  render(Document, [
    // ...
    prefix("/blog", blogRoutes),
  ]),
]);
9. Run pnpm dev.
When you run pnpm dev it will automatically generate the .content-collections folder.
Additional Documentation for Using the Add On within your Project
Defining Content Collections
All of yor content collections are defined within the content-collection.ts file and leverages Zod for type safety.
Within the defineCollection object, you can adjust the schema for additional front matter.
To add a new content type, you'll need to define another collection and add it to the collections array.
For example:
// content-collections.ts
...
const docs = defineCollection({
  name: "posts",
  directory: "src/app/content/docs",
  include: "*.md",
  schema: z.object({
    title: z.string(),
    slug: z.string(),
  }),
  transform: async (document, context) => {
    const html = await compileMarkdown(context, document);
    return {
      ...document,
      html,
    };
  },
});

export default defineConfig({
  collections: [posts, docs],
});
Creating Content
Within the src/app/content/posts folder, add all of your markdown files. Of course, you can rename posts to docs or add additional content types. Just be sure to update the corresponding directory property within your content-collections.ts file accordingly.
Querying Blog Content
Here's an example of several different ways you can query your data. These queries can be made directly within a React server component, or referenced from an external file.
import { allPosts } from "content-collections";

export function getAllPosts() {
  return allPosts.sort(
    (a, b) => new Date(b.date).getTime() - new Date(a.date).getTime()
  );
}

export function getPostBySlug(slug: string) {
  return allPosts.find((p) => p._meta.path.replace(/\.md$/, "") === slug);
}

export function getLatestPosts(count: number) {
  return getAllPosts().slice(0, count);
}

export function getPublicPosts() {
  return getAllPosts().filter((post) => !post.protected);
}

export function getProtectedPosts() {
  return getAllPosts().filter((post) => post.protected);
}
You can find additional details and documentation, including a demo repo, here.