
Changelog
This add-on grabs the releases from a GitHub repository and displays them in a web page. This allows you to have a published changelog on your website.
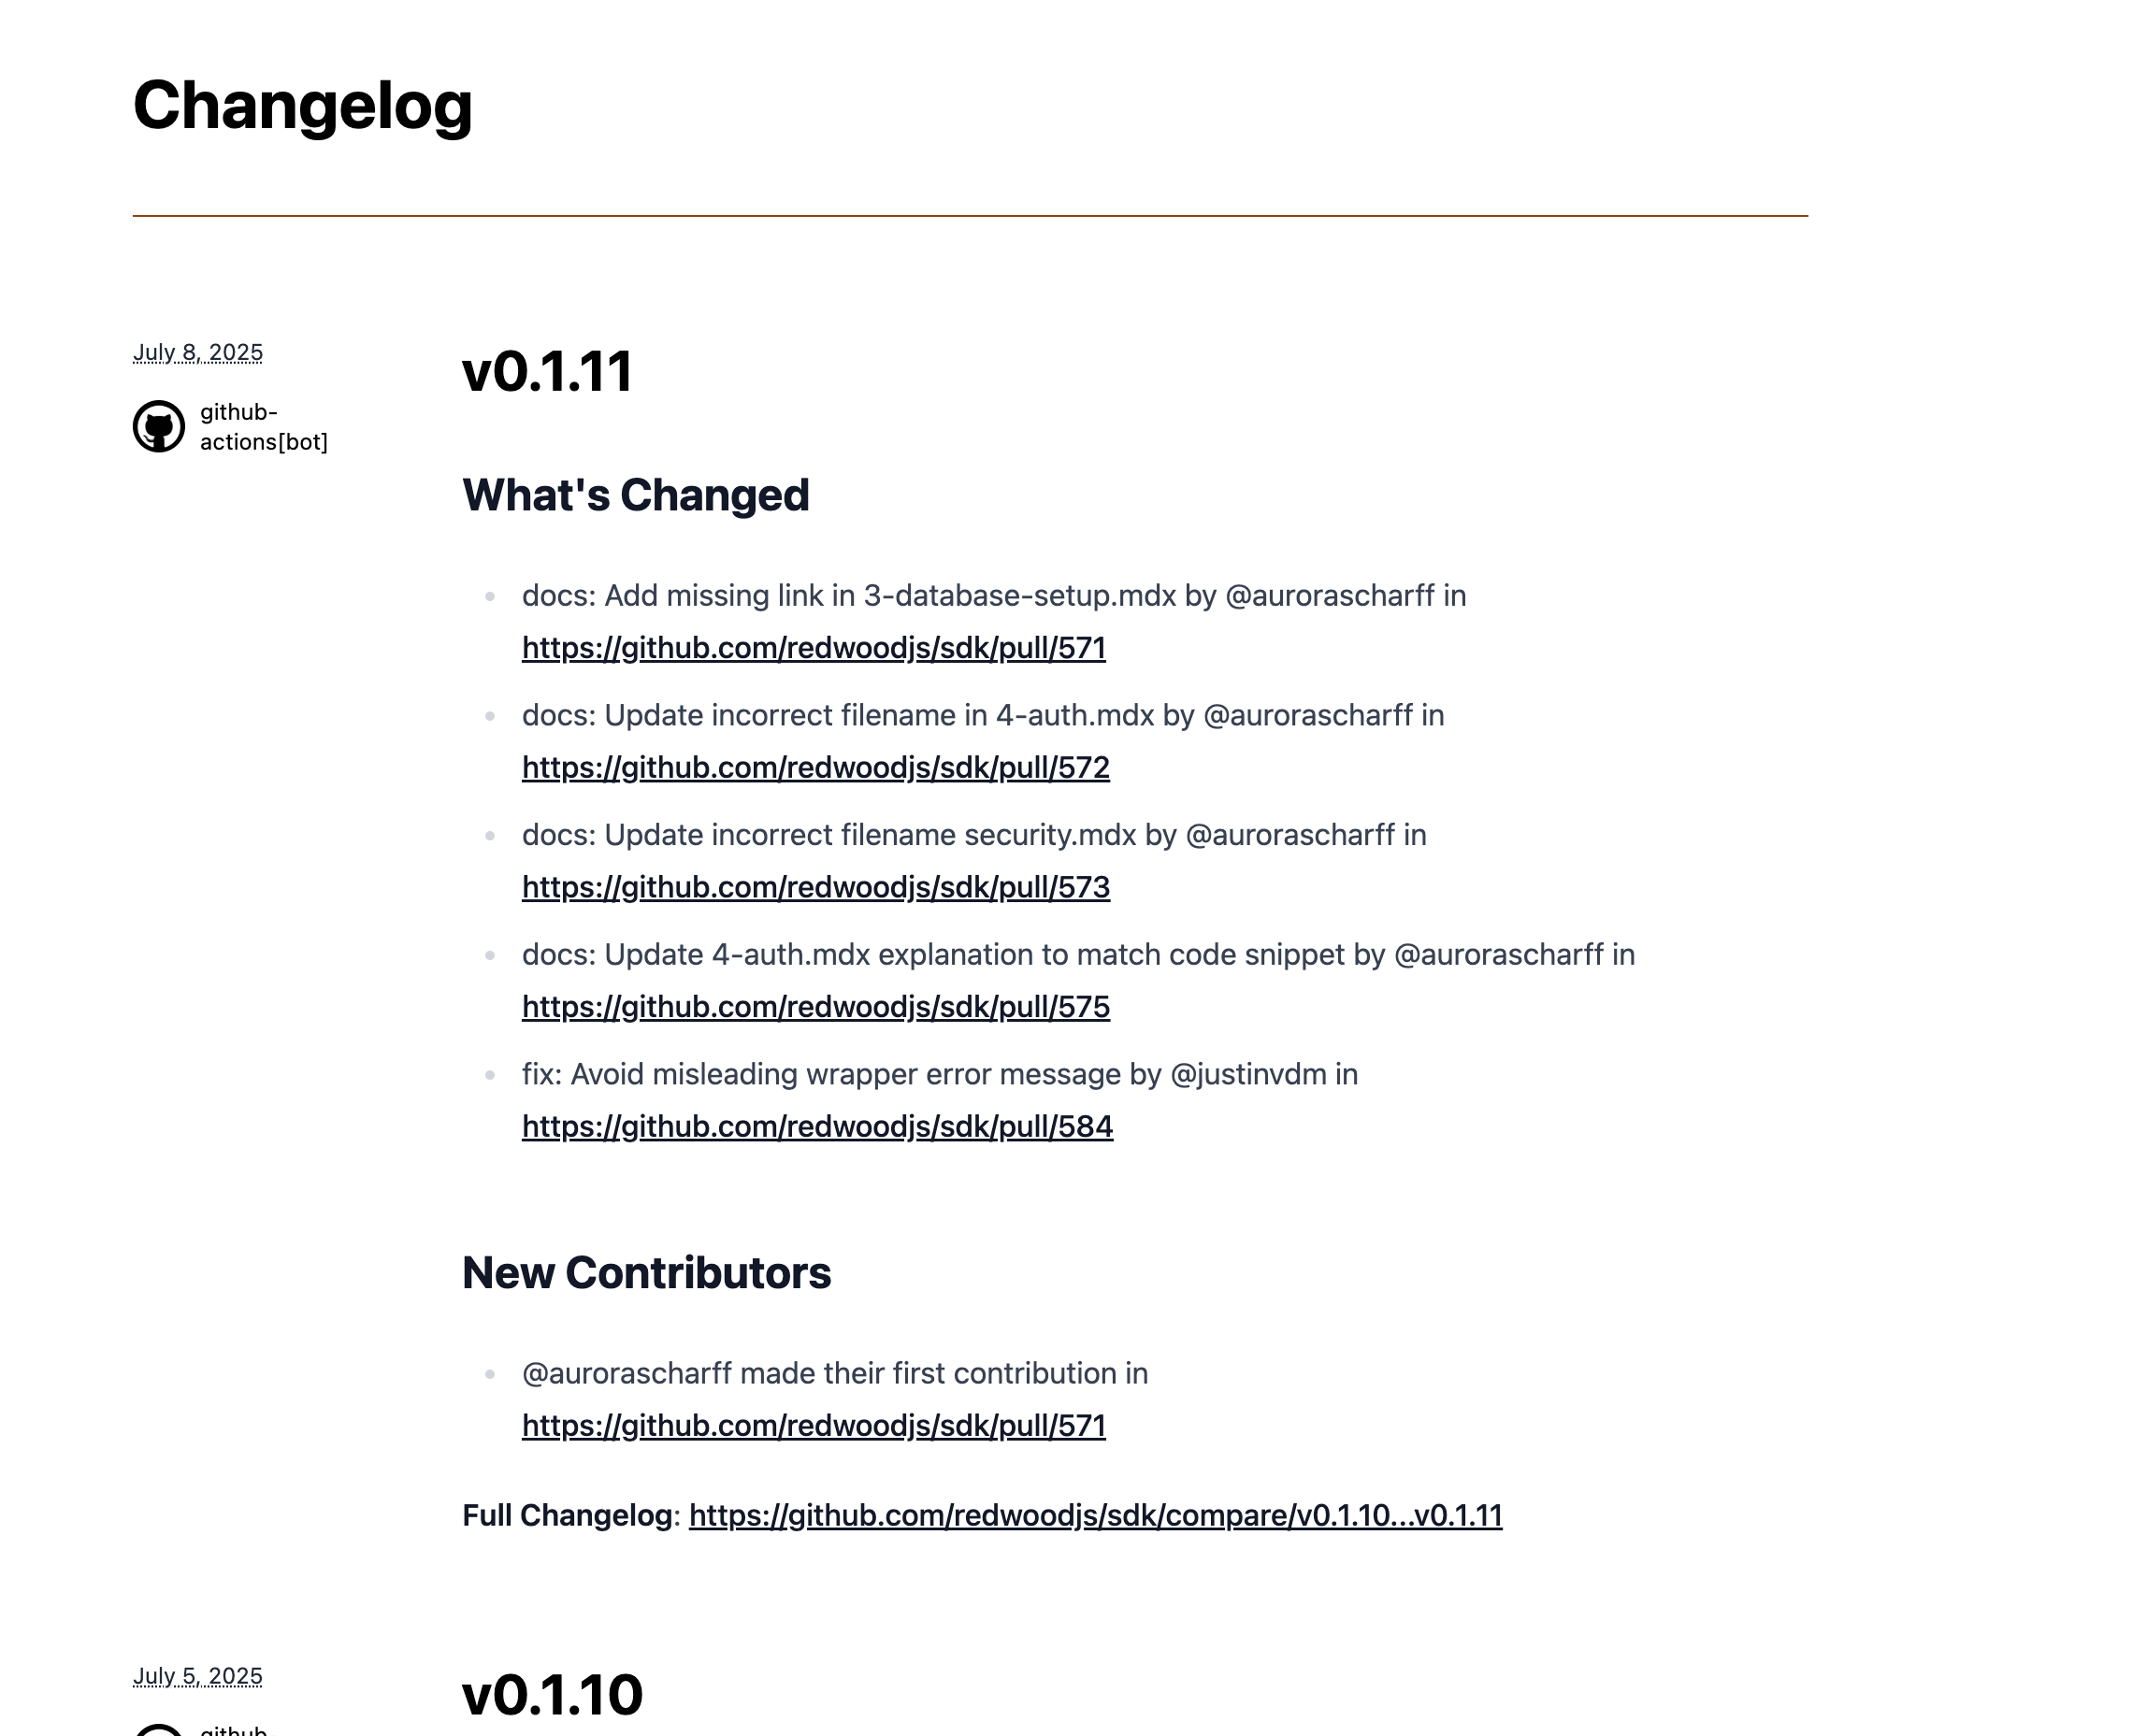
RedwoodSDK Changelog Addon
This add-on grabs the releases from a GitHub repository and displays them in a web page. This allows you to have a published changelog on your website.
Architecture
GitHub releases are written in Markdown. This requires some dependencies in order to convert Markdown into HTML. These are fetched from GitHub, converted to HTML, and cached for 30 minutes in KV namespace.
Tailwind is used for styling. Each section is broken up into a discrete component. If you wish to change the style, change the component.
How to add to your project
These instructions assume you are starting with a new RedwoodSDK project, for example from npx create-rwsdk -t minimal my-project-name.
0. Decide whether to add this manually or via AI
To use your editor's AI agent support to add this addon for you (e.g. Cursor, VSCode Copilot):
- Make sure your project dir is open in your editor. You can create a new project with:
npx create-rwsdk -t minimal my-project-name - Open a new AI chat window for your project
- Make sure you are in
Agentmode - Send the following chat prompt in the chat window - it will do the rest for you!
Please apply this addon to my RedwoodSDK project using these instructions: https://raw.githubusercontent.com/redwoodjs/changelog-addon/refs/heads/main/README.md
Alternatively, to apply this addon manually, simply follow the steps below.
1. Download this addon
npx degit redwoodjs/changelog-addon _tmp_passkey_addon
2. Copy files
Copy the src/changelog directory into your project's addon directory. This will add the following directories:
src/addons/changelog: Functionality.
4. Update package.json
Add the following dependencies to your package.json file:
"dependencies": {
  "marked": "^15.0.8",
  "marked-highlight": "^2.2.1",
  "highlight.js": "^11.11.1",
  "@tailwindcss/typography": "^0.5.16"
}
Then run pnpm install.
5. Install & Setup Tailwind CSS v4
Install Tailwind v4 using these instructions https://raw.githubusercontent.com/redwoodjs/sdk/refs/heads/main/docs/src/content/docs/guides/frontend/tailwind.mdx
Once installed, add the Tailwind CSS Topography Plugin to "src/app/styles.css"
/* ... existing configuration ... */
@import "tailwindcss";
@plugin "@tailwindcss/typography";
6. Update wrangler.jsonc
Run the wrangler command to create a new KV namespace:
npx wrangler kv namespace create KV_CHANGELOG_ADDON
This will automatically update your wrangler.jsonc file, but you must
also add the CHANGELOG_ADDON_REPO env-var.
{
  // ... existing configuration ...

  "kv_namespaces": [
    {
      "binding": "KV_CHANGELOG_ADDON",
      "id": "<BINDING_ID>"
    }
  ],
  // Environment variables
  "vars": {
    "CHANGELOG_ADDON_REPO": "redwoodjs/sdk"
  }
}
7. Update src/worker.tsx
Modify src/worker.tsx to integrate the passkey authentication and routes.
// ...

import { changelogRoutes } from "@/addons/changelog/routes";

export default defineApp([
  // ...
  render(Document, [
    // ...
    prefix("/changelog", changelogRoutes),
  ]),
]);
8. Update src/app/headers.ts to allow external images
Add img-src \* data:; to the "Content-Security-Policy" header.
export const setCommonHeaders =
  (): RouteMiddleware => {
      // ...
      ({ headers, rw: { nonce } }) => {
        headers.set(
        "Content-Security-Policy",
        `default-src 'self'; script-src 'self' 'nonce-${nonce}' https://challenges.cloudflare.com; style-src 'self' 'unsafe-inline'; frame-src https://challenges.cloudflare.com; object-src 'none'; img-src * data:;`
      );
    }
  }
8. Run the dev server
You should now be able to access "/changelog" in your browser to view the releases from your GitHub repository.